Showing posts with label master bedroom. Show all posts

Sunday, March 24, 2013

Look away, Mamma V!

    My mother in law gave us a beautiful sofa table a few months ago when they were cleaning out their back room , and I thought it would make a great addition to our hallway, But I've got different plans for the hallway now. So the pretty sofa table sat in our closet without even an idea for use for a few months... then the master bedroom got rolling, and I had an idea.

    I wanted a bench for in front of the bed, but we don't have a very large master bedroom, so I always nixed the idea. But after my usual (hours and hours of) searching houzz for inspiration, I saw this BEAUTIFUL skinny bench....


Then the wheels started turning.
So we fetched the sofa table out of the closet, and cut about 12 or so inches from the legs, to make it shorter than the bed, with the upholstery.


Then we realized it was WAYYY to wide to use against the bed, so we needed to change the top to something skinnier.... so I found a piece of scrap pine from a shelving unit we recently had to take out. Worked out perfectly. It was only 1 foot wide, and perfect length! 


So the we took the table apart, because we had to trim the side aprons in order to make the bench skinnier. The amazing DH ripped them to about 7 inches, and he performed some sort of magic to put it back together without cursing. I didn't ask any questions. 


Then we did the usual routine of 2 layers of foam, then a layer of quilt batting over the piece of shelving to smooth out the foam. 


Then the fabric (which took awhile to choose, becuase I'm apparently the most indecisive person when it comes to picking accent pieces).. was ironed, and smoothed over the batting. We had some trouble figuring out the corners, but ah well. I feel like we are the only people that will ever notice the little wrinklies. 

Then the top was attached to the bottom, and ta-da! We're all done. Didn't take very long at all! 
Depending on how far we go with the navy accents, the bottom of this will most likely be painted a cottage white. 


I'm kind of in love. 

I just have to fill this bed with all kinds of blue accent pillows with funky patterns, a striped navy and white rug, and this bedroom will be JUST what I've pictured. 


Saturday, March 23, 2013

DIY *incomplete but still decent* headboard...

     So I've been falling in love with pottery barn lately.. and even more in love with this $950 headboard..

   So after scouring the internet for tutorials I came to 2 conclusions:

      1. I could probably do this..
      2. Canada will definatley not have that pretty nailhead readily available to me anywhere....because thats just how it goes for me, so I'll have to order it from the internet, and hope that I found the right color.... and deal with an unfinished (sorta cute) headboard for now.

    So I begged my hubby to help me out, since I'm 4 months pregnant and pretty useless when it comes to lugging huge sheets of plywood home, let alone ripping them through the table saw.... and all worked out well. About 2 hours of shopping, we had everything we needed.

1. 3/4" sheet of plywood ($35 @ Lowes)
2. 2 twin mattress covers (which are a steal at my gramps' favourite store, Liquidation World.. $15/ea)
3. 1 roll of quilt batting from Fabricland ($4.50 at 50% off day)
4. 1 2m sheet of cream fabric ($16 at 50% off day)
5. A staple gun/staples (free as I mooched them)
6. A patient Hubby, and his power tools. (priceless)

Total cost of new headboard - $85.50.. STEAL!


   Here is how it went down in a little under 2 hours..

We cut the plywood to size (44"x63") and cut out some legs. I determined my previous ugly headboard started about 20" from the floor, so I made it 18" just to be safe. Oh, and don't forget to use a super professional workbench like my dining room table. What? Its cold out.


Next we used spray adhesive to bond the 2 layers of mattress topper to the frame. We then used a bread knife to trim it up to shape. 


 Then we used the batting to pull it all together tight and making it smooth.


    TA-DAAAAAAAA
Its so pretty. We screwed up a little on the legs... meaning I screwed up.... But its the legs, so nobody will see it.


      The bedroom is pretty ghetto fab right now, as we don't have window trim, or art above the bed, buttt that will come in time. I kinda like my new spiffy headboard! Not bad for 85 bucks!
Now I just wait for my nailhead trim kit to come in from ebay, and it will look just like the Pottery Barn version .. (I hope..)

                                                                         Beauty! Ciao : )


Thursday, February 14, 2013

Upstairs Progress!


Welp, we finally cleaned up the endless plaster mess from the demo...and started working on finishing the first half of the upstairs. eeeee!!! 
Here is the entrance to the master, from the top of the stairs ... After a solid day of argument, I won, and the door was moved  over 6 feet. It was alot of work for Kyle, but it made a huge difference in the look of the size of the room. We couldn't change the layout very much due to my serious need for a massive closet, so there was a whole lot of *Mandie takes... Kyle gives* in this scenario... Oops :) aHHH well. He will see it worth it when its all done :) 


  Here is the view from the bedroom into the walk through closet... Yes.. thats right I said it... walk through closet. He gets a side... I get a (bigger) side.... and if you keep walking, you'll end up in our master ensuite. LOVE.


         Here is the Master Bedroom! I know. Pretty fancy eh? But that sprayfoam actually is fancy. And expensive. I mayaswell show it off before we cover it up with drywall :) You think it would be hard to live in a bedroom without walls? I kind of miss it. All of the nails were left in the studs from the lath & plaster, so I always had something to hang my clothes on :) Theres always a positive.... at least i'll die trying to find it while living with this bedroom...


                                            yayyyy sprayfoam


                     Here it is all pretty & Drywalled!!! EEEEEEEEEE WALLS ARE SO GREAT


There she is! My hallway! We took the VERY USEFUL (but unfortunatley awfully big and ugly) storage unit out of the corner, and left us with a HUGE  open space for a built in window bench/wall desk unit. Hopefully that will look a little more sleek :) Here is the useful, yet ugly storage hub...

Here is the space without it! Much better! Can't wait to draw up some plans for this space :)
                            Kyle's half of the walk-through clost...


                     My (larger) side of the walk through closet :)

  This is the only picture I have for the ensuite bathroom.. Its room past the walk through closet. its where we are sleeping right now... sooo needless to say, i'm excited to get this finished so I can stop sleeping in my bathroom. hahaha


The other half of the upstairs will just be left sprayfoamed, we will most likely finish this next fall, but we realy want to get this reno done wihtout any debt, so it will have to wait untill my ensuite is finished.. because i'm selfiish, and well, we don't need 2 childrens bedrooms yet, as we have no children :) its all sprayfoamed and toasty though... thats about all I have to update :) 


ciao! :) 

Tuesday, February 21, 2012

Oh. Emm. Gee.

So a few boys came over to smash up some walls, in return for some beer and burgers ( what a sweet deal it is, thank god boys like smashing things. Cause this would have taken weeks and weeks to do. )  And this took them ONE DAY. Unbelievable. I wasn't really prepared for what I saw when the dust settled, It looks amazing!

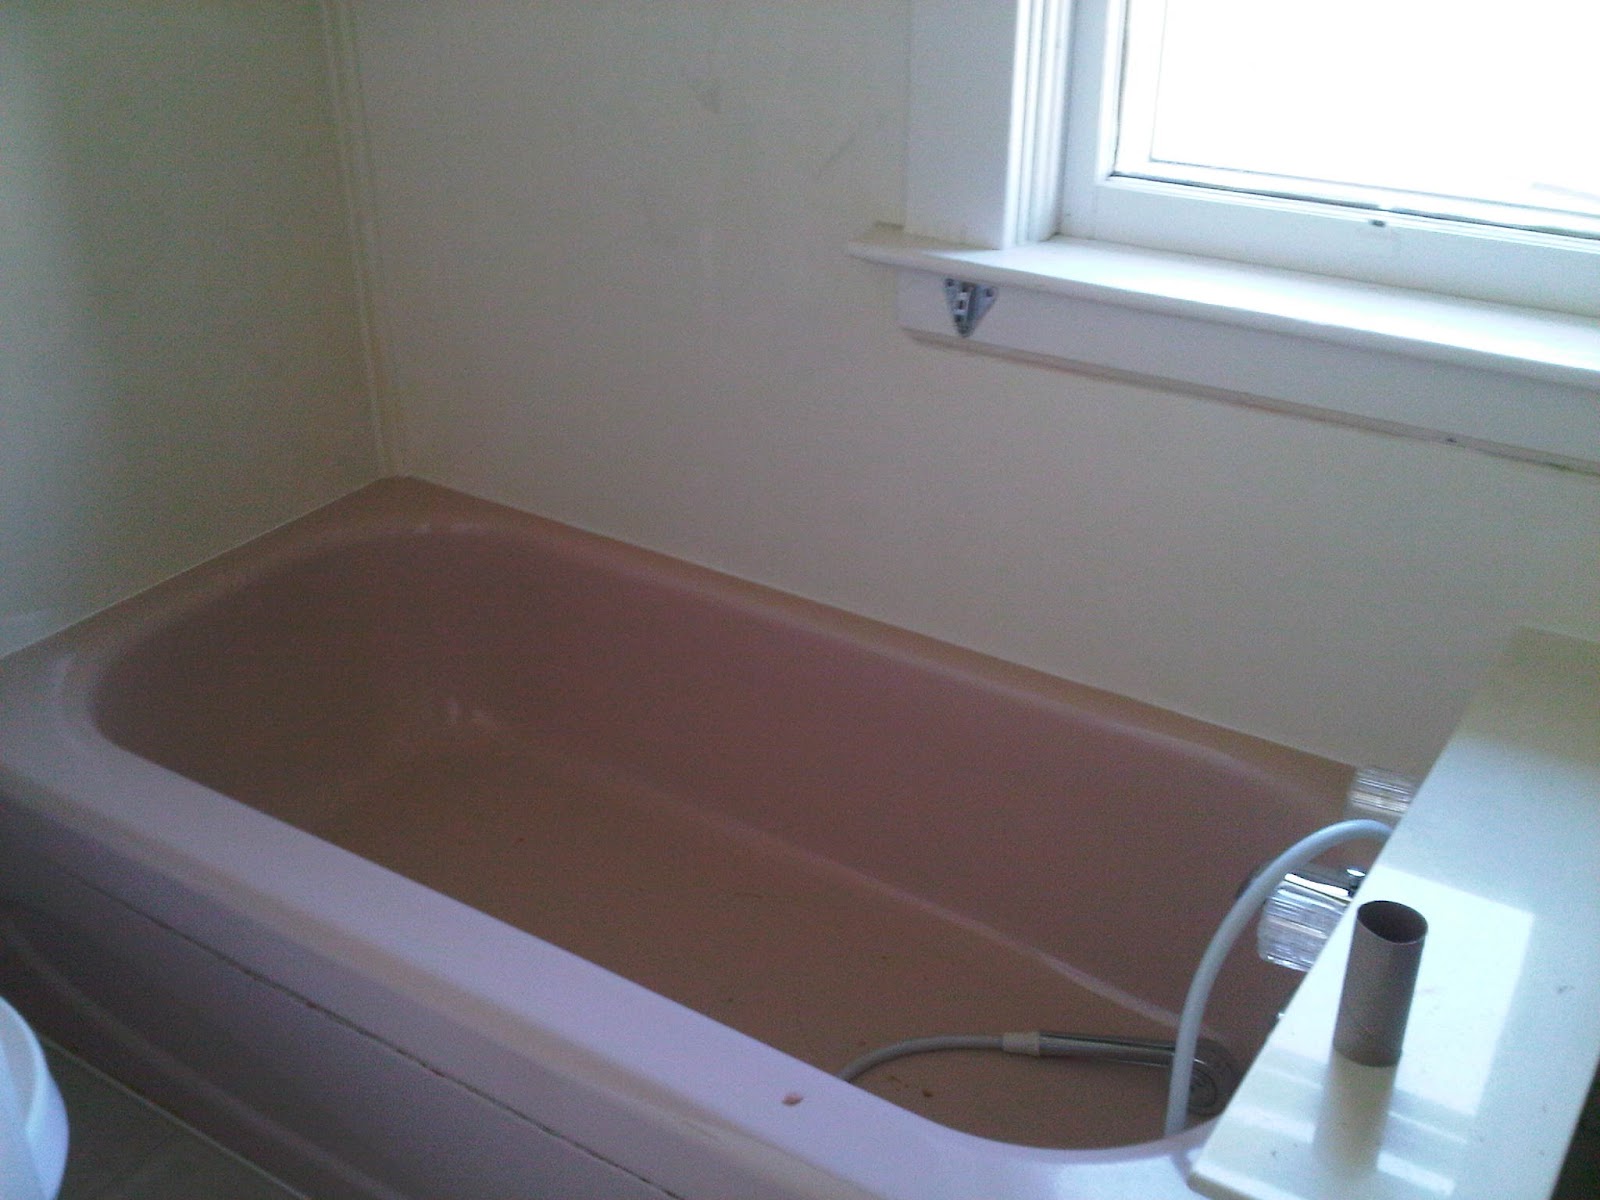
This is the view from the old bathroom ( with the pink tub.. ) this was the pink bedroom and the blue bedroom. Its now going to be the main bath, and the master ensuite.
Remember this? 


Well, it looks like this now. 


This is what the upstairs bath, and teeny unusable room looked like : 


Welp, now they are a hallway. And I'm in love. Because at the end of this hallway, is a hidden staircase. We will most likely restore that when the kitchen is redone. Because right now,  it leads to a wall of cabinets. :)


This is the purple room with the gross floor. 


                         This is the new purple room with the gross floor and now also the gross pink tub.
I don't think words can really express my giddiness that comes with that tub leaving my house. 

I took an extra picture of the tub in the pile of garbage. Because it made me happy. 


This was the upstairs hallway. Its now just extra space in the 2 bedrooms in this side of the house. 
And it looks like this now. 

We are now all moved into the main floor. Kyle oh so kindly got the laundry room going for me, so I'll be able to get organized and post some pictures of the main floor so far ... needs some cosmetic work at this point, but its really come a long way!